
Stop Staring at the Cursor: How to Build a “Video-First” Content Pipeline with Make and Notion
A pragmatic guide to turning your raw video rants into polished SEO articles without writing a single word from scratch.
We have all been there. It is 9:00 AM. You have a fresh cup of coffee. You have a brilliant idea for an article that could establish your authority in your niche. You open a blank document. And then you freeze.
The blinking cursor mocks you. The sentence that sounded so smart in your head five minutes ago now feels clunky. You write a paragraph, delete it, check your email, and suddenly it is noon. You have produced zero content.
This is not a creativity problem; it is a friction problem.
Most professionals-whether you are a Project Manager, a Consultant, or a Junior Developer -are better speakers than writers. When you are on a Zoom call with a client, the insights flow naturally. When you are explaining a concept to a junior colleague, you are articulate and precise. But the moment your fingers hit the keyboard, that flow state evaporates.
The solution isn’t to force yourself to become a better writer overnight. The solution is to change the input mechanism.
We need to stop writing from scratch and start “manufacturing” content.
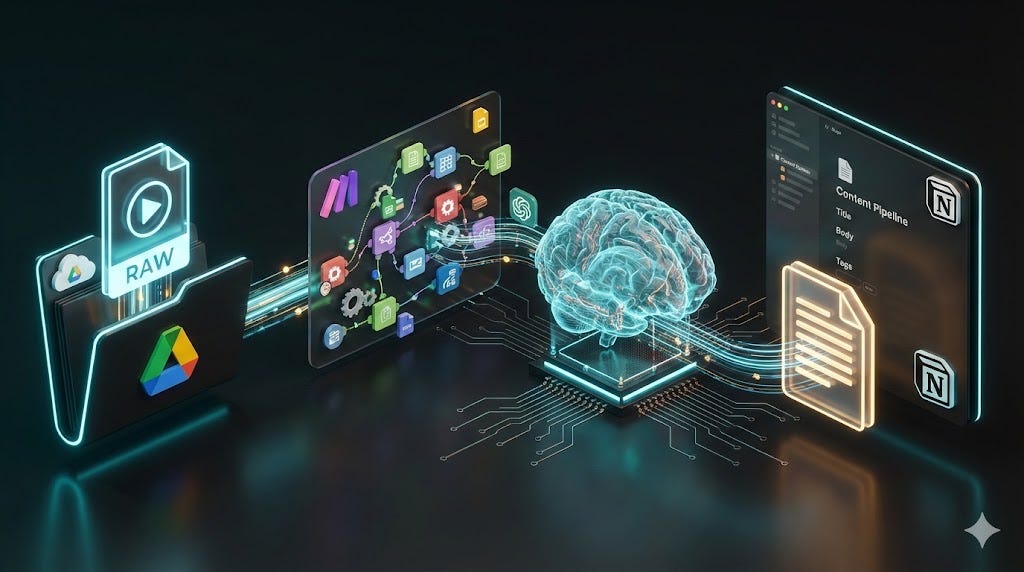
In this guide, we are going to build a Video-First Content Pipeline. We will construct a “No-Code” automation system where you simply drop a raw video file (a Loom, a Zoom clip, or a voice memo) into a Google Drive folder, and a few minutes later, a fully formatted, SEO-optimized blog post appears in your Notion workspace.
We aren’t using AI to “generate ideas” or hallucinations. We are using AI to translate your actual voice into text.
Here is how to build the machine.
The “Lazy” Stack: What You Actually Need
Before we start connecting wires, let’s look at the toolkit. We are avoiding expensive enterprise software in favor of tools you likely already use, connected by a powerful automation hub.
Here is the stack:
- Google Drive: The Trigger. It is reliable, it handles large files well, and it syncs to your phone.
- Make (formerly Integromat): The Nervous System. We are choosing Make over Zapier for this specific build because its visual interface allows for better data manipulation (specifically JSON parsing, which we will get to later).
- OpenAI API (Whisper + GPT-4o): The Brain.
- Note: You need a paid API account with credits loaded, not just a ChatGPT Plus subscription.
- Notion: The Destination. This is where your content calendar lives.
A note on cost: This workflow isn’t free, but it is cheap. Processing a 10-minute video through the OpenAI API costs pennies. Compare that to the hourly rate of you staring at a blank screen for two hours, and the ROI is mathematical, not theoretical.
Step 1: The Trigger Mechanism (Google Drive & Make)
The goal here is simplicity. You should not have to log into a dashboard to start this workflow. You should be able to drag a file into a folder and walk away.
Configure Google Drive
- Go to your Google Drive.
- Create a new folder. Name it exactly: _INPUT_RAW_VIDEO.
- (Optional) create a sub-folder named Processed where we will move files later so the system doesn’t run twice on the same video.
Configure Make.com
Log into Make and create a new Scenario.
- Click the big plus button and search for Google Drive.
- Select the trigger: Watch Files in a Folder.
- Connect your Google account and select your _INPUT_RAW_VIDEO folder.
The “Hidden Gem” Setting: By default, this trigger might try to process any file you drop in there, including a PDF or an image. That will break our automation.
- Right-click the Google Drive module.
- Set a Filter.
- Label it: Media Files Only.
- Condition: MIME Type contains audio OR MIME Type contains video.
Now, if you accidentally drop a spreadsheet in that folder, the automation just ignores it. It’s a small detail, but it prevents 90% of error messages.
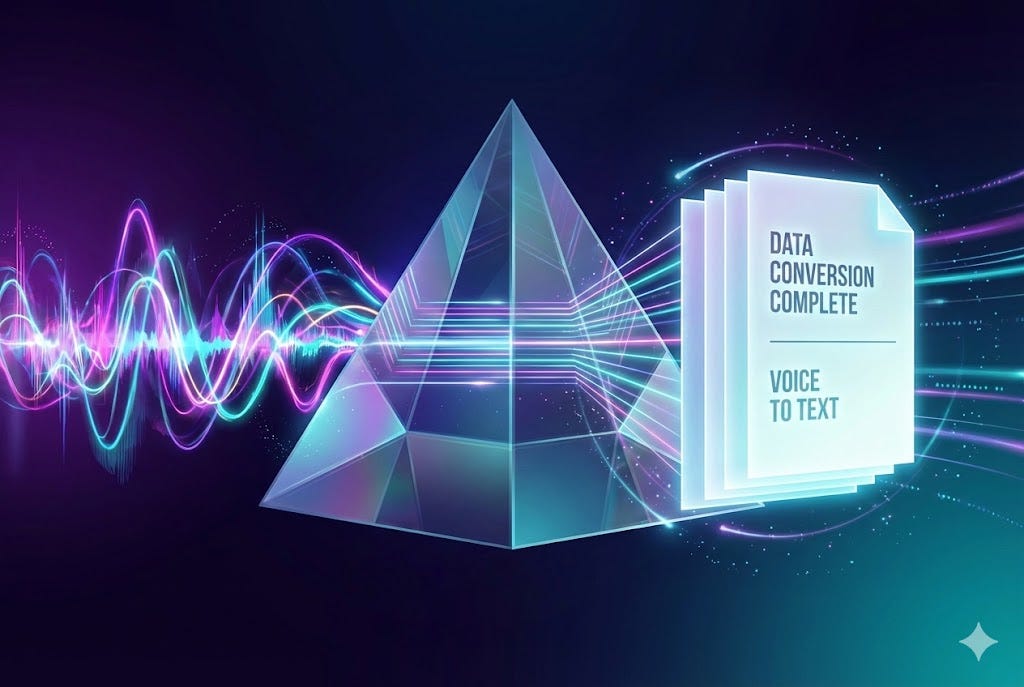
Step 2: From Audio to Text (The Whisper Model)
Most people try to use standard dictation tools for this. That fails. Always. Standard dictation creates a wall of text without punctuation, and it usually butchers technical terms.

We are going to use OpenAI’s Whisper model. It is shockingly good. It understands heavy accents, fast talking, and even ignores the “ums” and “ahs” to a degree.
The Setup
- In Make, add a new module connected to your Drive trigger: OpenAI.
- Select the action: Create a Transcription (Whisper).
- In the “File” field, map the file coming from the Google Drive module.
The “Hidden Gem”: The Context Parameter
Here is the secret that most tutorials miss. In the OpenAI module settings, there is a field called Prompt (optional).
Do not leave this blank.
Whisper uses this prompt to understand the context and spelling of your audio. If you work in a niche industry, this is mandatory.
For example, if I am recording a rant about automation, I will paste this into the Prompt field:
The transcript is about No-Code automation, SaaS, API integrations, JSON, Make.com, Zapier, and Python scripts.
By feeding it these keywords, Whisper knows that when I say something that sounds like “Jason,” I actually mean JSON. This simple step saves you 20 minutes of editing later.
Step 3: The Intelligence Layer (Context Injection)
Now we have a raw transcript. It is accurate, but it is messy. It reads like a spoken conversation — full of tangents and repetition. We need to turn it into an article.
Add another OpenAI module, but this time select Create a Completion (Chat). We want to use the model GPT-4o or GPT-4-Turbo.
The “System Prompt” Strategy
We are not just going to ask it to “write a blog post.” That results in generic, robotic fluff. We need to use Context Injection.
We need to tell the AI who it is and how to write.
Copy this into the System Message field:
You are an expert Content Strategist and Technical Writer. You prefer short, punchy sentences. You avoid corporate jargon like “unleash,” “leverage,” or “digital landscape.”
Your goal is to take the provided transcript and restructure it into a high-value educational article.
- Keep the author’s original opinions and strong stance.
- Use analogies to explain complex topics.
- Use Markdown formatting (H1, H2, bolding).
Copy this into the User Message field:
Here is the transcript: {{text_from_whisper_module}}
By explicitly banning specific buzzwords and defining the persona, the output shifts from “generic AI” to “professional draft.”
Step 4: The JSON Secret (Structuring the Data)
If you stop at Step 3, ChatGPT will spit out a long block of text. You will then have to copy the Title, paste it into Notion. Copy the Body, paste it into Notion. Copy the LinkedIn caption, paste it into LinkedIn.
That is manual work. We hate manual work.
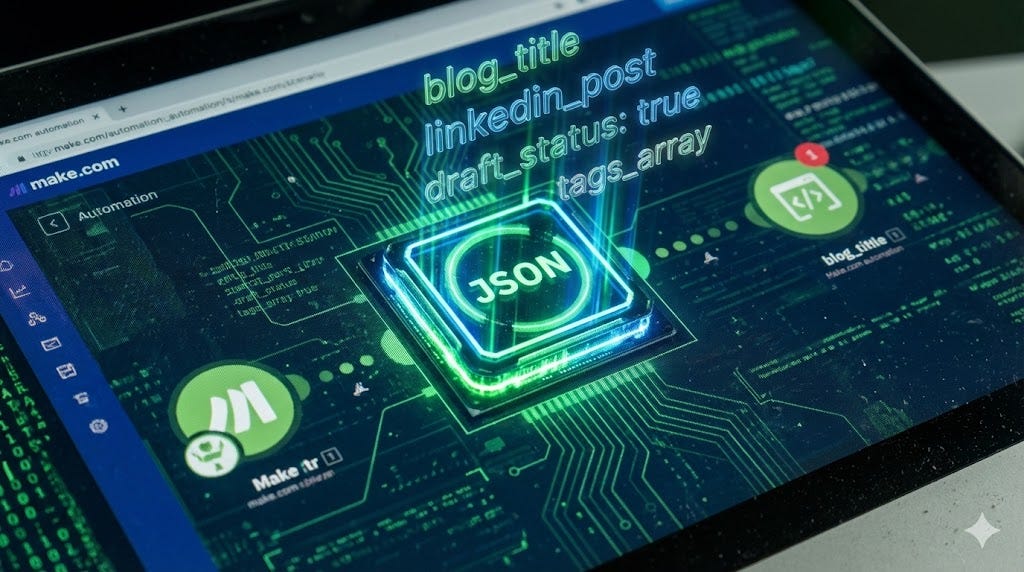
We are going to force the AI to give us the data in a format computers understand: JSON.
The Advanced Prompt
Go back to your OpenAI module (Step 3). We need to change the instructions. We don’t just want an article; we want a data object.
Add this to your User Message:
IMPORTANT: You must output your response in strictly valid JSON format. Do not add any conversational text before or after the JSON. Use this schema:
{ “blog_title”: “A catchy, SEO-optimized title”, “blog_body_markdown”: “The full article content in Markdown”, “linkedin_post”: “A short, engaging LinkedIn post summarizing the article”, “tags”: [“tag1”, “tag2”, “tag3”] }
The Parser
Now, the AI will return code, not text.
- Add a JSON module in Make.
- Select Parse JSON.
- Map the output content from the OpenAI module into this parser.
Now, Make.com sees blog_title and linkedin_post as separate, draggable variables. This is the difference between “using AI” and “building software.”
Step 5: The Landing (Notion Database)
Finally, we need to park this content where you can actually review it.
- Add a Notion module: Create a Database Item.
- Select your Content Calendar database.
- Map the fields:
- Name (Title): Drag in the blog_title variable from the JSON module.
- Page Content: Drag in the blog_body_markdown variable.
- Status: Set this to “Draft”. (Never set automation to “Publish” automatically. You are the editor; the AI is the writer).
- LinkedIn Caption: Map the linkedin_post variable to a text property in Notion.
The Result
Here is the workflow in real life:
- You finish a client call where you explained a complex topic perfectly.
- You save the recording.
- You drop the MP4 into your _INPUT_RAW_VIDEO folder.
- You go grab lunch.
- When you return, you open Notion. There is a new page in your “Drafts” column. It has a title, a full article, and social media snippets ready to go.
The 80/20 Reality Check
Let’s be honest about what we just built.

This system does not replace you. It replaces the first 80% of the work. The output you get in Notion will be good, but it won’t be perfect. It might misinterpret a joke. It might use a metaphor that doesn’t quite land.
Your job is no longer “Writer.” Your job is “Editor-in-Chief.”
You need to read the draft. Add your personal flair. Fix the rhythm. But editing a 1,500-word draft takes 15 minutes. Writing it from scratch takes 4 hours. That is the victory.
This workflow removes the “Blank Page Syndrome.” It ensures that your best ideas don’t die in your head just because you didn’t have time to type them out.
The Next 15 Minutes
Don’t try to build the entire spaceship at once. Start small.
Right now, go to Google Drive and create that _INPUT_RAW_VIDEO folder. Then, log into Make and just set up Step 1 (The Trigger) and Step 2 (The Transcription).
Even if you just get an automated email with a transcript of your voice notes, you are already ahead of 99% of people relying on memory alone.
Automating Your Visual Presence
We have solved the problem of textual content. We took your voice and turned it into blogs and LinkedIn posts. But in 2025, text is only half the battle.
The “Video-First” philosophy implies that video is the ultimate asset. But creating high-quality video for every single use case — like a customized video resume for a specific job application, or a tailored pitch deck video for every investor — is impossible to do manually. You cannot sit in front of a camera for 40 hours a week.
Just as we used Make and OpenAI to automate the writing process, there are tools designed to automate the visual performance.
If you are looking to scale your personal brand beyond what you can physically record, you might want to explore PortfolioVideo. It is a platform that allows you to turn documents -resumes, pitch decks, scripts -into professional videos using AI avatars.
Imagine the workflow we just built, but in reverse: You feed a script into the system, and instead of a blog post, you get a studio-quality video of an avatar presenting your ideas, or a cinematic “Vibe Motion” header for your LinkedIn profile.
Automation isn’t about being lazy. It is about ensuring your ideas travel further than your physical time allows.
Now, go record a rant. Your system is waiting.
Stop Staring at the Cursor: How to Build a “Video-First” Content Pipeline with Make and Notion was originally published in Towards AI on Medium, where people are continuing the conversation by highlighting and responding to this story.